
How to Get Ready for Diamond Clear Braces
Getting braces is a big step toward a better smile—and if you’ve chosen Diamond Clear Braces, you’re already on the right track. These braces combine the strength of traditional braces with the subtle look of clear brackets, making them a popular choice for teens and adults who want effective treatment without the noticeable metal. But to get the best results, you need to be well-prepared.
Proper preparation doesn’t just help the treatment go smoothly—it also eases the transition, minimizes discomfort, and ensures your teeth and gums stay healthy throughout the journey. From setting realistic expectations to adjusting your eating habits, preparing for braces involves more than just a dental appointment.
This guide covers 10 simple yet important ways to prepare yourself—physically, mentally, and practically—for Diamond Clear Braces. By following these tips, you’ll start your orthodontic journey with confidence and make sure your treatment is as smooth and successful as possible.
1.Understand What Diamond Clear Braces Are
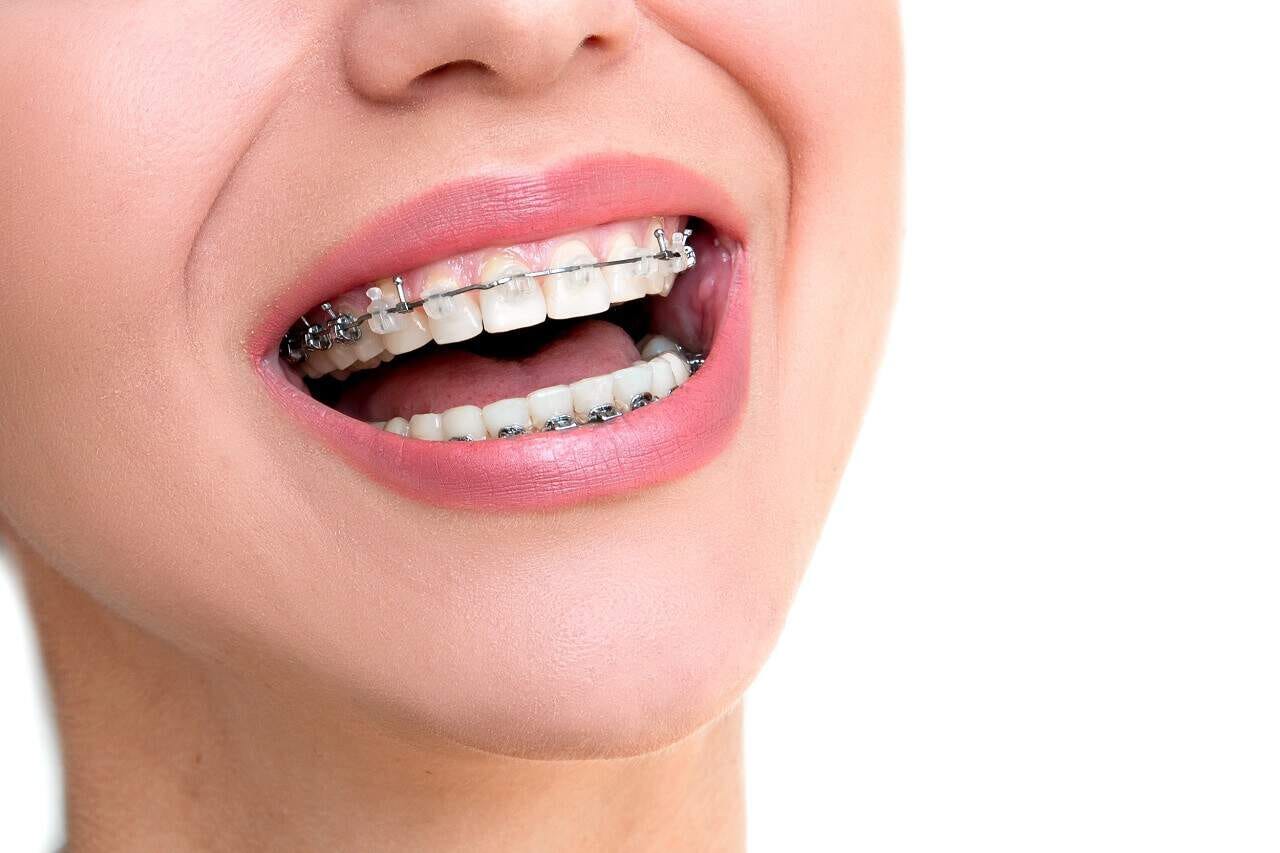
Before starting treatment, it’s important to know what you’re signing up for. Diamond Clear Braces use ceramic or clear brackets that blend in with your natural teeth. While they function like traditional metal braces, they’re less visible, making them ideal for people concerned about aesthetics. Knowing how they work helps you set realistic expectations and feel more comfortable with the process.
Talk to your orthodontist about how long treatment might take, what your smile will look like afterward, and any pros and cons compared to other options. A clear understanding from the beginning will reduce anxiety and help you stay committed.
2.Schedule a Dental Cleaning First
Before braces are placed, your mouth needs to be in its best condition. Schedule a professional dental cleaning and check-up with your regular dentist. This helps remove plaque, tartar, and any early signs of decay.
If you have cavities, gum issues, or other oral health concerns, these should be addressed before getting your braces. A clean, healthy mouth ensures that the braces can do their job properly without complications later on.
3.Stock Up on Braces-Friendly Foods
Once your Diamond Clear Braces are on, you’ll need to avoid certain foods that can damage the brackets or wires. Prepare by stocking your kitchen with soft, braces-safe foods like:
Yogurt
Mashed potatoes
Soups
Soft fruits (like bananas and berries)
Smoothies
Scrambled eggs
Avoid hard, crunchy, or sticky snacks like nuts, popcorn, and chewing gum. Preparing meals in advance can help you adjust more easily during the first few sore days after your braces are placed.
4.Get a Braces Care Kit Ready
Keeping your braces clean is essential to prevent plaque build-up and tooth decay. Before your appointment, assemble a braces care kit that includes:
A soft-bristled toothbrush
Fluoride toothpaste
Orthodontic wax (to ease irritation)
Interdental brushes or floss threaders
Mouthwash
Having these supplies on hand makes it easier to maintain good oral hygiene from day one, whether you’re at home, school, or work.
5.Take Photos of Your Teeth
It might sound silly, but taking before pictures of your teeth is a great idea. These photos will serve as a reminder of how far you’ve come once the braces are removed. They can be motivational, especially on tough days when you might feel frustrated.
Take clear, well-lit pictures from different angles—front, side, and close-up. Over time, comparing them to your progress will show just how effective Diamond Clear Braces are.
6.Talk About Pain Management Options
Braces don’t usually hurt, but some discomfort is normal in the first few days or after adjustments. Prepare by discussing pain relief options with your orthodontist ahead of time.
You may be advised to use over-the-counter painkillers like ibuprofen, apply orthodontic wax to sore spots, or use cold compresses. Knowing how to manage discomfort makes the transition much easier.
7.Plan Your Schedule Accordingly
The day you get your braces, and possibly a few days after, you might experience tenderness or trouble eating. It’s wise to avoid major social events, meetings, or travel during this initial period.
If you can, choose a time when you’ll be less busy or stressed. Having a couple of low-key days after your appointment gives you time to adjust without pressure.
8.Practice Good Oral Hygiene Habits Now
Braces require excellent oral care, so it’s smart to build those habits before you even get them. Start brushing after every meal and flossing daily to get used to the routine.
Your orthodontist may also recommend special tools like a water flosser or electric toothbrush. Practicing now helps you avoid plaque buildup, gum disease, and tooth discoloration during treatment.
9.Mentally Prepare for the Commitment
Braces aren’t an overnight fix. Treatment can last from 12 to 24 months or longer, depending on your dental needs. Mentally preparing for the long-term commitment is essential.
Remind yourself that each day is one step closer to a better smile. Be patient, follow your orthodontist’s instructions, and stay positive. The journey may have challenges, but the results are worth it.
10.Ask Questions and Get Comfortable with Your Orthodontist
The relationship with your orthodontist is important. Before you begin, take the time to ask all your questions:
What should I expect after the first day?
How often will I have appointments?
What happens if a bracket comes loose?
How should I clean around the brackets?
Getting clear answers builds trust and makes you feel more in control. A supportive orthodontist will always be happy to guide you through the process.
Preparing for Diamond clear dental braces in Singapore doesn’t have to be overwhelming. With the right steps in place, you’ll ease smoothly into treatment and set yourself up for success. From adjusting your diet and stocking your dental kit to building better brushing habits and managing your mindset, preparation is key.
Braces may require effort and patience, but the reward—a straighter, healthier, and more confident smile—is worth it. By following these 10 simple ways to prepare, you’re not just getting ready for braces—you’re taking charge of your future smile.