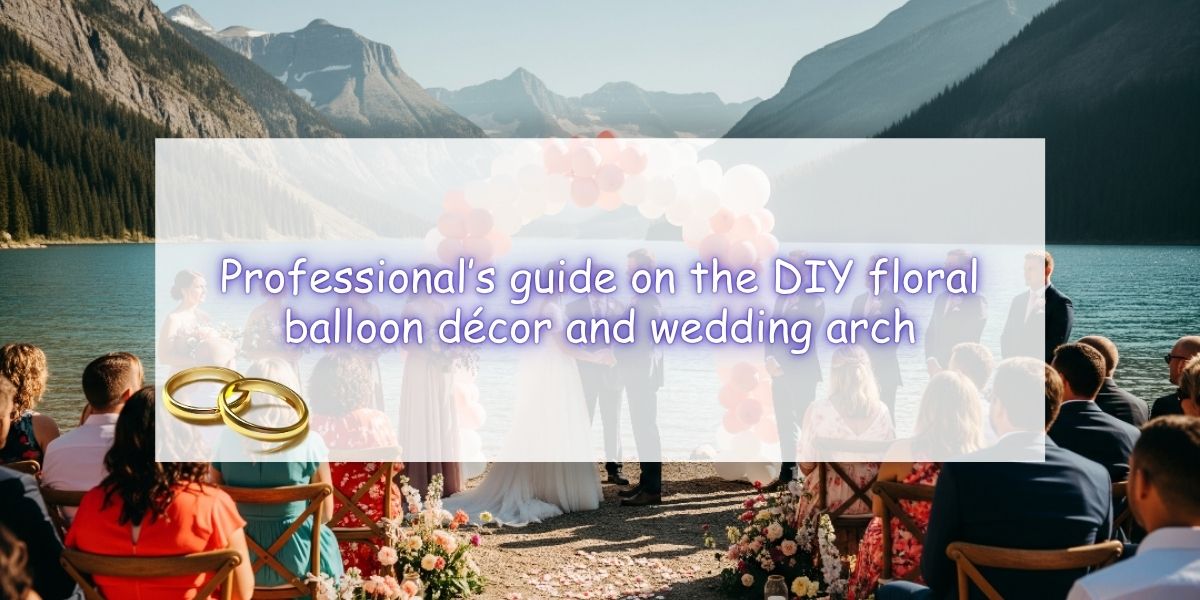
Professional’s guide on the DIY floral balloon décor and wedding arch

Creating your DIY floral wedding arch with balloons
Before set out on your journey you should better gather all the materials or resources that you need to put up this installation. Here is a list of the items –
- Materials or resources that you need
- Balloons of your preference
- Zip ties
- Ribbons
- A pair of pliers or wire cutter
- Floral foam
- 3 long leaf greenery garlands made from eucalyptus
- 3 rose leaf greenery garlands
- 3 accent combos in French pink
- 4 flora blush and cream deluxe designer flower boxes
- 2 aria coral and white deluxe flower boxes
Along with the tangible items mentioned above you also require lots of creative sprits to execute this DIY project successfully.
It is important to mention in this context that designer flower boxes from Ling’s allow blending varieties of flowers, leaves and related accessories in a colour palette that is expertly curated. So you can easily choose what is right being sure that it goes well without the need of having any matching mixture on your own trial and error approach. Event management professionals in London with years of experience in installing wedding photo backdrops suggest Ling’s flora brush and cream has a distinctly soft romantic appeal. Similarly, the fresh green and blush pink has a unique dreamy tone whereas aria coral and white emanate a fairytale vibe. This adds an undeniable sweetness to the shades of pink. In order to construct your DIY wedding balloon arch you may make use of wedding colour collections from Ling.
Now let us get into installing a wedding balloon arch using flowers.
DIY floral wedding arch installation using balloons
Let us breakdown the task into simple steps for easier understanding.
Step 1 – need to categorise your resources first
Carefully sort out and organise all materials and flowers before you begin your craft. Take out every item from its box. You will require time to flatten out the petals and the stems of the flowers. It is a good idea to form piles of similar items sorting them on basis of colour and size. This may not prove to be very exciting but in the long run it proves helpful completing the project easily. You will not take time searching for a necessary time at the time of executing your craft project.
Step 2 – preparing the balloons
Before beginning your craft you should better have all the balloons ready. Make use of an air pump inflating balloons and do not forget tying a knot to each inflated balloon to prevent leakage of air.
Step 3 – attaching balloons to the frame
Tie balloons in pairs and once all your balloons are partnered off, attach each pair to the arch frame using the ribbons. Professionals experienced in building wedding photo booth backdrop installations in London, suggest adding some larger balloons of lighter colours toward the bottom of the installation. This is meant to create a balanced effect. Use smaller balloons to fill in the gaps. This not only adds depth to your installation but also help keeping the arch frame hidden from sight.
Congratulations! You have just concluded making the basic frame of the balloon arch.
Step 4 – going green
Make use of the rose leaf garland to wrap the bottom of the arch and while doing it make sure that no part of the frame goes uncovered. In the next step you have to secure the garland secretly, for which you will make use of the fine metal wire. Then you have to include another layer of rose leaf to ensure a full effect. Now covering the wedding arch frame is complete.
Step 5 – making floral vines
There is no need to buy any extra item or resource to create floral vines. Trim the sections of the rose leaf garland using clippers. Professionals skilled in making arch backdrops suggest then wrap the wire stems of the flowers and attach them to the rose leaf garland. This is how can make a gorgeous flower vine without using any additional resource.
Step 6 – harmonising the design
Harmony is one the most essential elements not only in life and marriages but also in wedding arches. Blend the green side of the arch with the embellished section of balloons in harmony. Now it is turn to insert the floral vine into the gaps of the balloon arrangement. This is how you effortlessly create a fabulous blending effect. Both the sides of the arch thus flow into each other seamlessly.
Step 7 – complete the greenery
First of all, let us make one thing clear; to execute this step you need to have a variety of green pieces in your stock. Add leaves of varying lengths to the floral side of the arch suggest professionals with years of experience in installing wedding backdrops with balloons and flowers. This creates a dimensional appearance and your foliage appears thicker and lush. Lengthy flowing bits of leaves also help stretching the overall reach of the arch.
Step 8 – finishing with flowers
Now you are at the last and ultimate step of your DIY wedding balloon arch. At this step you have to insert flowers into the greenery so that it creates a gradient effect. This gradient effect is necessary because it will tie the look together. As the flowers and the balloons have matching colours, this will further blend the arch.
Professionals working at the renowned decorators of Ace Celebrations suggest at this stage you should keep on filling in gaps with more and more flowers and leaves. You may also include smaller embellishments that are included in the Ling’s designer flower boxes to give the overall installation a further delicate touch.
For more blogs: sparkarticles.com


