


Protecting Your Roof with a Tarpaulin
Many a time, when nature causes a sudden and unexpected roof damage or when the roof is being repaired, the cheapest, quickest, and most immediately available means to protect one’s dwelling from the forces of weather is a Tarpaulin. To discuss the best practices and the factors to consider when a tarpaulin is a more reliable exclusion for a roof to be safe will be this article’s major focus.
Choosing the Right Tarpaulin
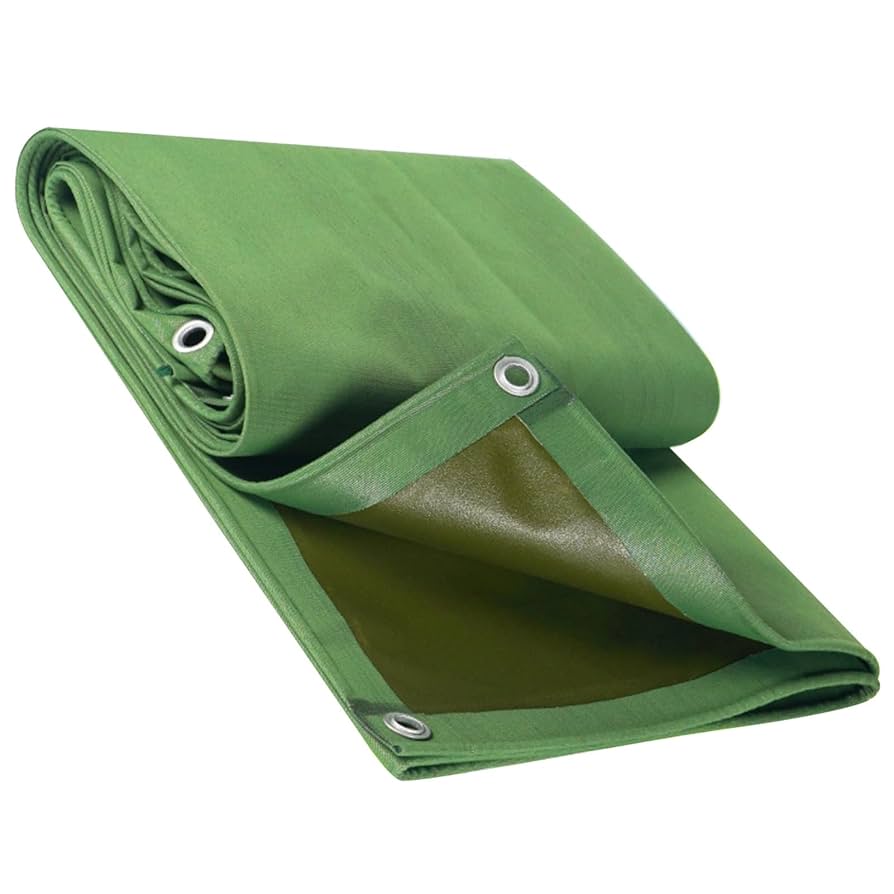
Choosing the right roof tarpaulin is the first step to take in protecting the roof with it. Tough, watertight tarps are an ideal choice for this purpose. The most popular choice is polyethylene tarps because they are robust and waterproof. The tarp has to be quite extensive to cover the broken area, with pork for firm anchoring. It is better to select a tarp with strengthened edges and grommets so that it will be simpler to fix on the roof.
Assessing the Damage
An individual must examine how pulpy the rooftop is before the tarp is put in. The examination enables the person to know the size of the tarp and the strategy to locate it. It is fundamental for a person to identify crumbling roofs or other damages and handle them prior to the placement of the tarp.
Gathering Necessary Tools and Materials
Several things are need when one wants to place a tarp on a roof. Among these necessities are the following:
- Ladder
- Safety harness
- Hammer
- Nails or screws
- Wooden boards (2x4s)
- Scissors or a utility knife
- Sandbags or heavy objects
- Work gloves
The process of installation can be more convenient and safer if these items are ready to work with.
Safety Precautions
Roof work may result in death in several cases. Hazards increase when roof work takes place following a severe We remind you to check the rest of the reasons.
Adding a tarp to the roof involves several procedures:
- Unroll and unfold the Canvas Tarpaulin to cover the damaged zone. Check that the sheet extends at least four feet on all sides of the damage.
- The tarp needs to secure with one piece placed at the top of the roof. Nail or screw the board over the tarp beside the rafters of the roof, not the sheathing.
- Once the tarp is tight, the other end is then sealed by using the wood boards similarly, starting from top down to the eaves.
- Clap down the tarp on the roof’s sides with the same method, ensuring the tarp is not loose or there are no spots where the wind will get underneath.
- Cut away any tarp that is overhanging, leaving only as much as necessary to sweep water from the roof’s edge.
Creativeness in the tarp must be. Therefore, the tarp must angle in such a way that it would instruct the water to flow down rather than pool.
Temporary Nature of Tarp Protection
On the bright side, when a tarp is used rightly, it will offer an effective protection until the point where a permanent repair is made. Exposure to the sun, rain, and wind causes tarps to degrade relatively quickly thus they last for about five months only before they need to be replaced. House owners should closely follow-up on repairs so that the structure is not weakened additionally.
Monitoring and Maintenance
Indeed, it is indispensable to keep your eye peeled for any malfunctions of a tarpaulin. After heavy storms or strong winds, be sure to check the entire area, especially the tarp, which is a precursor to signs of slippage or damage. The slung part should be immediately fixed back to secure the tarp.
Conclusion
A good trick to handle a roof that has gone untouched is to use a roof tarp. If the tarp is high quality, damage should detecte, and the right installation instructions should follow correctly, then one can stop further damage caused by water and avoid caving issues at home. However, it is important to keep in mind that a tarp is not a permanent solution. Frequent examinations, the arrangement of timely repairs, and the on-time call of professional connoisseurs are crucial issues packed with one to ensure the long-term rust-free bracket of the structure.
Homeowners can put it in perspective of various weather conditions in open areas where they have ventured. Strap the DIY tarping in place and get a pro off your back, with the ones doing it right taking the risk of the bad consequences of doing it their way. In the end, the inhale of a correctly fixed tarp gives a person the feeling of safety and confidence until the board is in place.
Also Read: https://sparkarticles.com/
3 thoughts on “Protecting Your Roof with a Tarpaulin”